This post may contain affiliate links. Please read our disclosure policy.
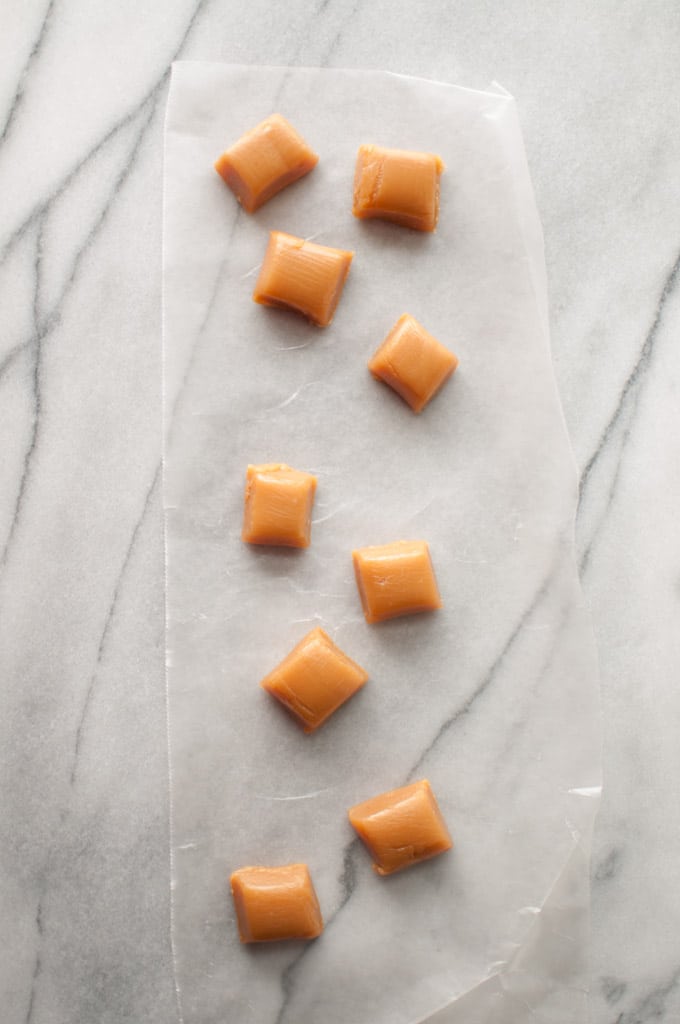
Have you ever tried making candy at home? These easy homemade caramels are a good place to start!
This recipe was my first venture into candy making. My sister loves caramels and last Christmas I decided to surprise her with homemade ones. She loved them and continues to request them (yeah, I’m a victim of my own success).
They’re easy to make but you do need a little patience as you’re doing a lot of stirring for the best part of an hour. Watching the mixture turn into caramel does become quite mesmerizing. I’m not sure I trust myself with those no-stir recipes out there – sugar can burn fast and I do not want to clean that level of mess. At least the cooking process is enjoyable because you’re inhaling molten candy fumes. It’s great, really. Buttery, sugary goodness.
Sadly my teeth are so sensitive to sticky candy like this that I just can’t eat it. I made the mistake of trying one of these once, and let’s just say I will never do that again. It’s a shame since these really are very tasty (before the pain sets in, anyway).
My husband has the tough job of being my taste tester for these.
I usually use an infrared thermometer to make these, but last time, it started giving me random temperatures and I had to rely on the water test method to determine whether these were done or not. I was at the “soft ball” stage (I put a bit of caramel in cold water and it hardened a bit but was still very pliable). I took it off the heat at that point, and was left with softer, chewy caramels. Normally when I make these, I wait until I’m at 250F, and the caramels are a lot harder (but quickly melt in your mouth).
If you don’t want to rely on the water test method, you can pick up an instant-read thermometer from Amazon for a reasonable price. Since originally publishing this post, I bought a similar instant-read thermometer for my candy making and it works a lot better than the infrared one did!
Questions? Feel free to ask!
Easy Homemade Caramels
Ingredients
- 1 cup white sugar
- 1/2 cup packed brown sugar (I used a light golden sugar)
- 1/2 cup corn syrup
- 1/2 cup evaporated milk
- 1 cup heavy/whipping cream
- 1/2 cup butter
- 1/2 teaspoon vanilla extract
Instructions
- Line the dish/pan you'll be pouring the molten caramel mixture into with parchment paper. That way you don't need to worry about caramel sticking everywhere. I use an 8x6 glass baking dish.
- Add the white sugar, brown sugar, corn syrup, evaporated milk, cream, and butter to a medium-sized pot.
- On medium-low heat, warm the mixture and stir frequently until it reaches 250F (use a candy thermometer). This should take around 40-50 minutes or so. You'll notice the mixture thickening significantly when it's almost ready. Stir more frequently as it approaches 250F - as it gets closer the temperature rises fast. If you want softer, chewier caramels, you'll want to stop at the "soft ball" stage, which is 235F-240F.
- Stir in vanilla and mix it thoroughly.
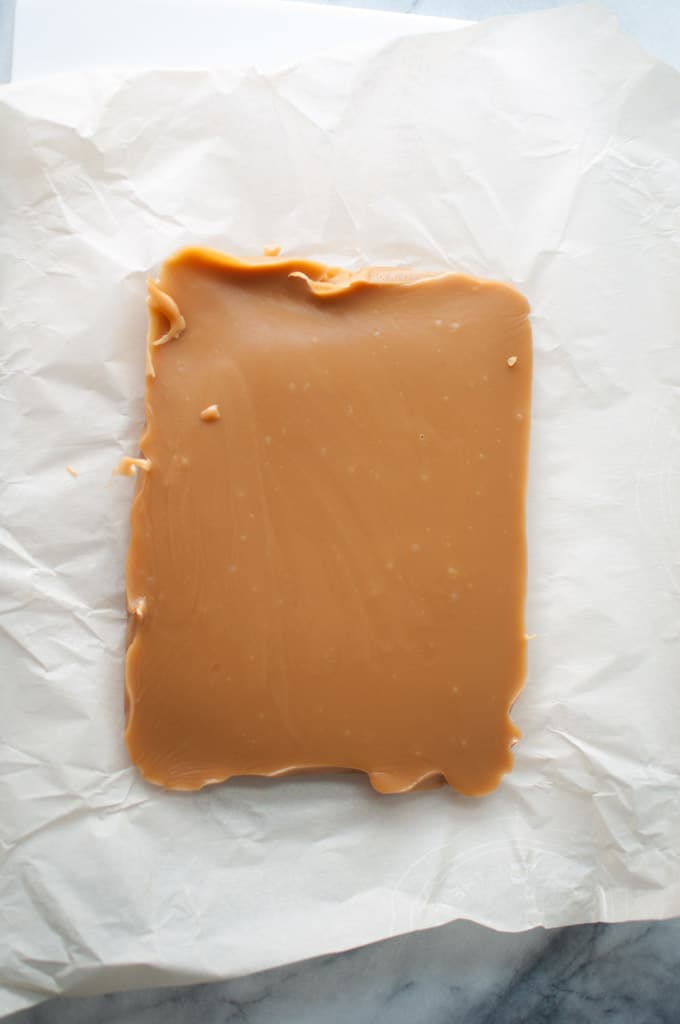
- Transfer it to the pan/glass dish lined with parchment paper.
- Let cool for at least an hour.
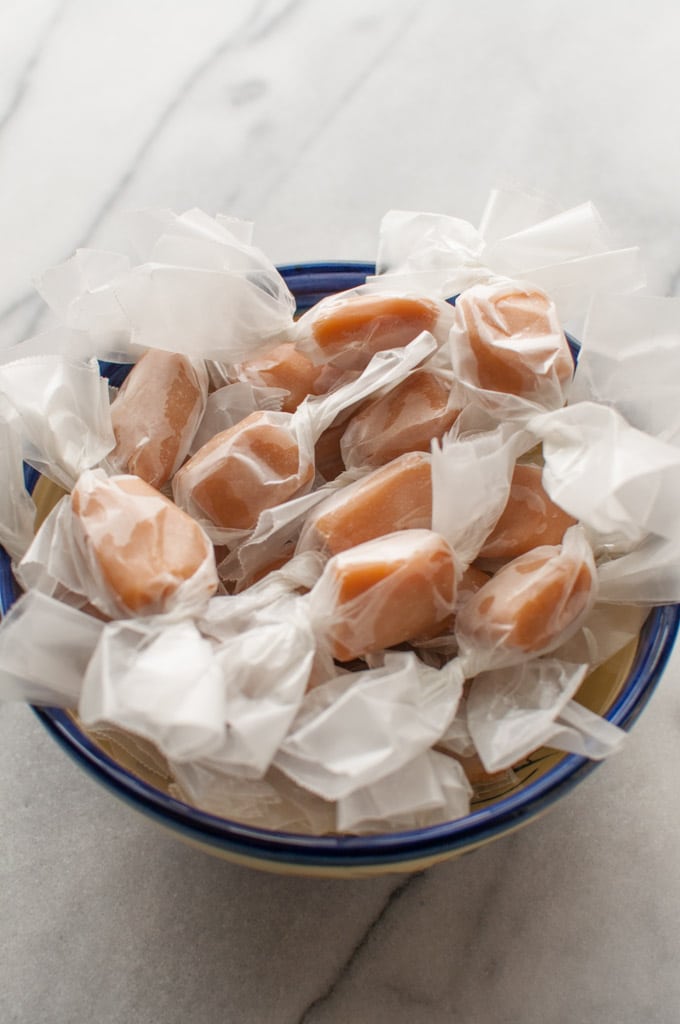
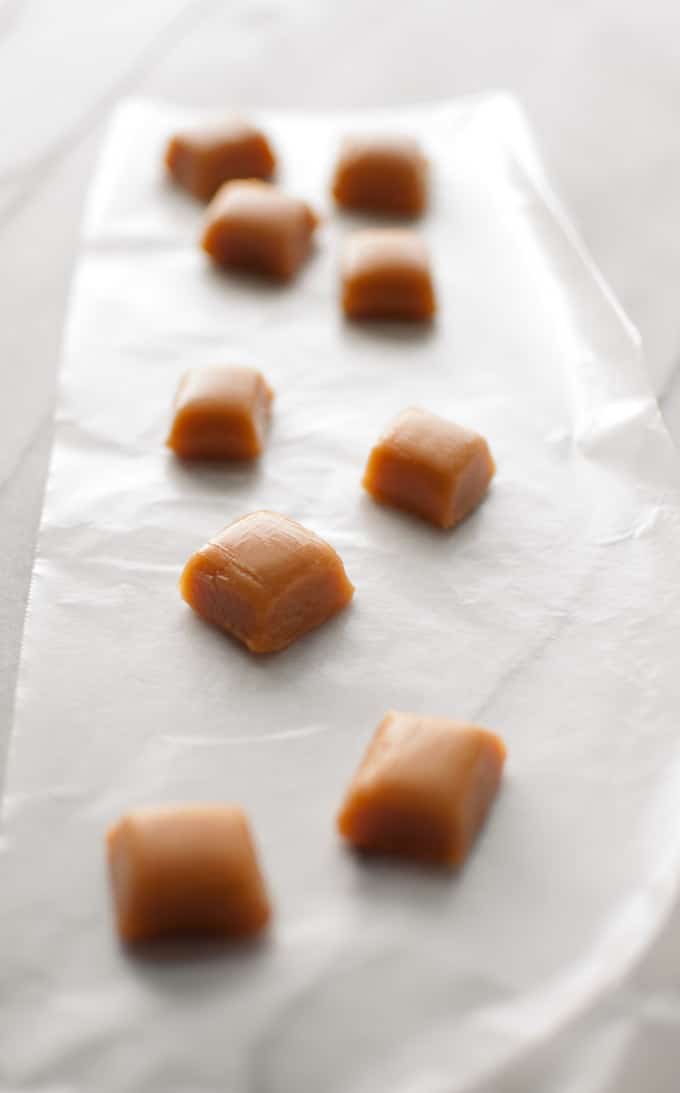
- Cut into squares and wrap in wax paper.
Notes
- I used an 8x6 glass baking dish. I halved the original recipe which recommends using a 12x15 pan. It's hard to say how many candies this recipe makes because we all cut them into different sizes. Last time I made this, we had about 75 candies (cut into bite-size squares).
- It's a good idea to calibrate your thermometer (it should read 212F in boiling water at sea level), and make necessary adjustments for your area. Where I live, it's 4F difference, I admit I don't worry too much about this and just go to 250F, but if you live at altitude and you're aiming for chewier caramels, you may want to ensure you do this step since your margin for error will be a bit smaller.
- Adapted from: allrecipes.com
© Salt & Lavender Inc. Content and photographs are copyrighted. Sharing this blog post is much appreciated, but copying and pasting full recipes without authorization to social media is strictly prohibited.


If I wanted to add herbs to the mix, such as lavender or rosemary, at what point would I add them?
Hi! I haven’t personally tested it, but I think at the point you add the vanilla in would probably work. You may want to consult similar recipes, however, since I would hate for a batch to be ruined.
I tried this recipe over the weekend. Definitely an exercise in patience, but man they are buttery, sugary goodness!!!! Yum!!! Mine ended up on the chewier side (maybe I was a little impatient), but I like that consistency. YUM!!
They’re definitely a crowd pleaser 🙂
I am the sister who demands these, and they are amazing. Speaking of which, make me more. Now.
More will be coming to you shortly 🙂