This post may contain affiliate links. Please read our disclosure policy.
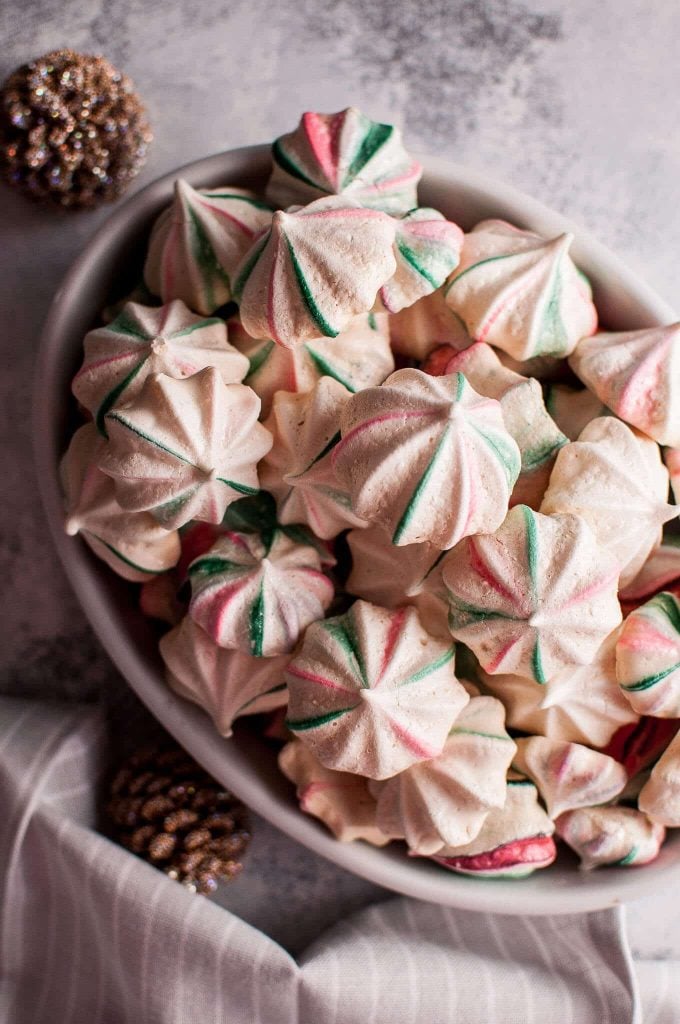
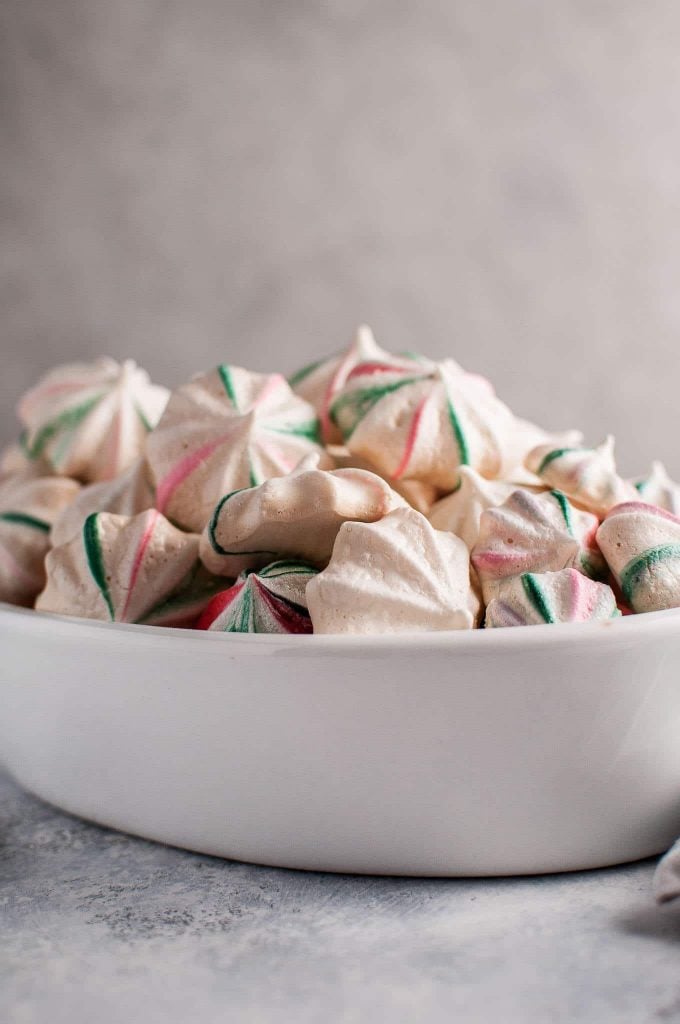
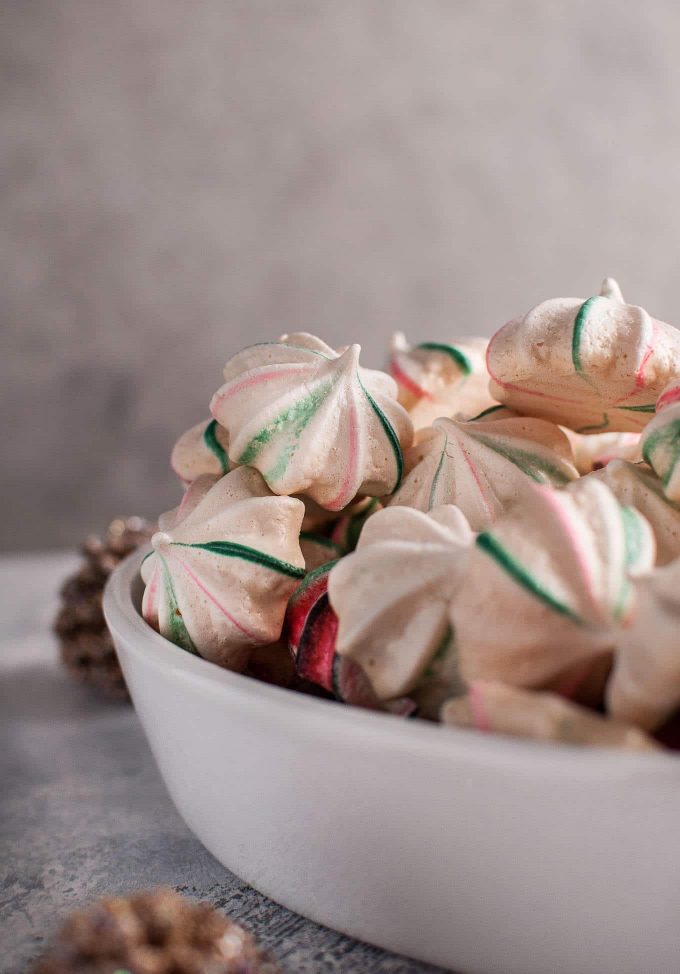
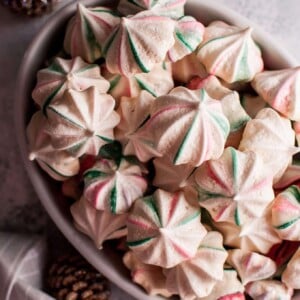
These red and green striped Christmas meringue cookies are light, melt-in-your-mouth, and fun. Flavored with vanilla and almond and swirled with red and green, these sweet treats are extra festive.
I’m not sure what’s gotten into me lately, but I’m really liking making sweets these days. Maybe it’ll pass after Christmas is over.
Who knows! I’ve always loved how pretty meringue is, and I wanted to do something fun with it for the holidays.
The photos reflect the two batches of these cookies that I made. The first time around I painted four fairly thick stripes of gel food coloring inside the piping bag (two red opposite each other, and two green opposite each other).
The second time around I was less heavy handed, and those are the meringues with the more subtle colors. Painting the stripes on isn’t as fussy as you would think, and there is some margin for error.
You do want to be somewhat careful when spooning the meringue into the piping bag so you don’t smudge the stripes, but some smudging is inevitable and I don’t think it makes the cookies any less pretty.
I used an Ateco metal star tip and a disposable plastic piping bag. I experimented with piping different sizes and slightly different “kiss” shapes, and they all seemed to work well. As long as you bake them slowly and at a low temperature, you’ll be good.
I used my hand mixer to make these. You could of course use a stand mixer if you have one.
I put a few more tips and tricks into the recipe notes to help make sure these red and green striped Christmas meringue cookies work out for you.
Will you make these red and green striped Christmas meringue cookies? What’s your favorite kind of Christmas cookie?
If you’re feeling festive, you can also try my fruit and nut chocolate bark recipe or my winter sangria.
Red and Green Striped Christmas Meringue Cookies
Ingredients
- 4 egg whites room temperature
- 1/4 teaspoon cream of tartar
- 1 cup granulated white sugar (superfine if possible)
- 1/2 teaspoon pure vanilla extract
- 1/2 teaspoon pure almond extract
- Red gel food coloring
- Green gel food coloring
Instructions
- Preheat oven to 220F. Cover two large baking sheets with parchment paper.
- Separate the egg whites into a large mixing bowl (you can save the yolks for something else).
- Add the cream of tartar to the eggs.
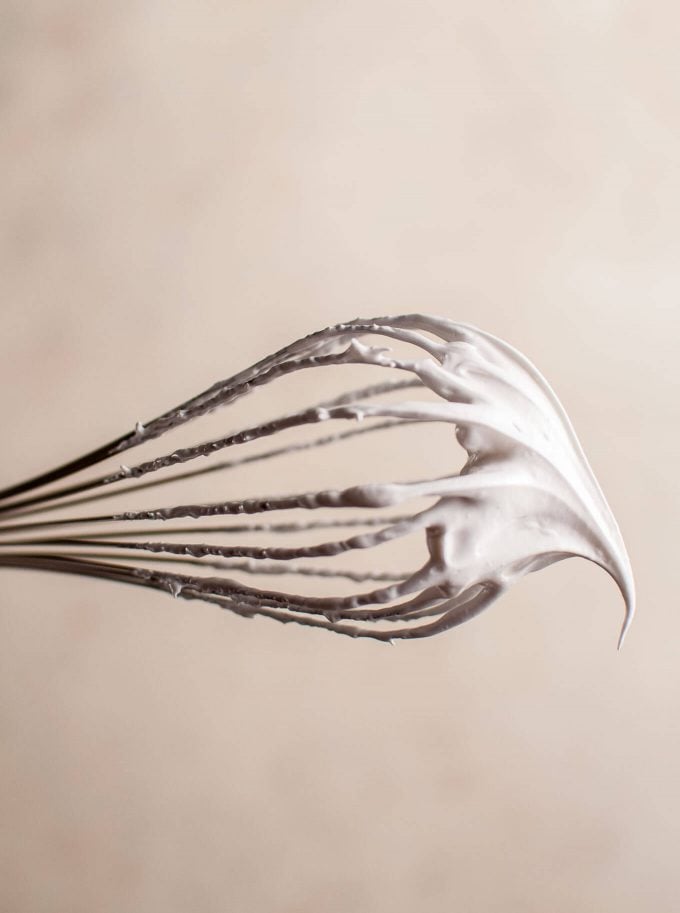
- Beat the eggs on medium using a hand or stand mixer with whisk attachment until you have soft peaks (the mixture will be light and fluffy, but when you take the whisk out of the bowl, it'll collapse back onto itself).
- At that point, start adding the sugar in, about a tablespoon at a time. Beat on high. Don't rush this process. It takes me about 8-10 minutes to use it all up. Once the sugar is completely dissolved (rub some between two fingers, if it feels gritty, keep beating the meringue), you should have a glossy meringue that holds stiff peaks (take the whisk out of the bowl and the meringue's shape will hold). Add the vanilla and almond extracts, and beat until they're well mixed in.
- Fold the top third of your piping bag inside out and paint your food coloring stripes inside the bag (from the fold all the way to the piping tip). Spoon the meringue in (fill bag about 3/4 full), unfold the top and twist it, then squeeze a bit of the meringue out (discard it) to get any air bubbles out. Pipe onto the parchment-lined baking sheets, keeping in mind the meringue expands while it cooks, so leave a decent gap between each cookie.
- Bake for 1.5 hours. Turn the oven off and let the meringues sit in the oven for at least an hour to help them dry out even more (and prevent too much cracking), then finish cooling them on a cooling rack. You can even leave them in the oven to cool off overnight.
- Store in an airtight container. They will keep for about a week.
Notes
- Meringue Tips: Use a metal or plastic bowl - any grease residue in a plastic bowl can mess up your meringue.
- Make sure no yolk gets in the egg whites, or they will not whip properly. Beat the sugar in gradually so the meringue will form properly.
- Yield really depends on what size cookies you're making. This quantity of meringue fills up two large baking sheets.
© Salt & Lavender Inc. Content and photographs are copyrighted. Sharing this blog post is much appreciated, but copying and pasting full recipes without authorization to social media is strictly prohibited.


The recipe says bake for 1.5 hours. Is this correct??
Hi! It is. It’s at a super low temperature. You’re basically drying them out more than baking them.
Just did 4 batches of these today. Super popular. I don’t like almond flavouring so used just the vanilla. Turned out great. I did have to turn the heat way down though. Guess my oven runs hot. Thanks for the recipe and the decorating tip. 🙂
That’s great to hear, Sandra! Yeah, oven temperature can definitely be tricky… I am glad that they didn’t burn haha. Happy holidays!
I always have SO MANY egg whites on hand because of the amount of ice cream I make so I’m always looking for new ways to put them to work. Excited to try these for the holidays!
That’s great, Charlotte!! Hope you like them. I’m now intrigued about all the ice cream in your freezer haha.
In the oven now! How should they be stored?
I would store them in an air-tight container. 🙂
Thank you, Happy Holidays
You’re welcome! Hope you enjoy the cookies.
Are you making these for me for Christmas!?
No.
LOL! Great reply.
You supplied the recipe so that we can make them.
Thank you.