This post may contain affiliate links. Please read our disclosure policy.
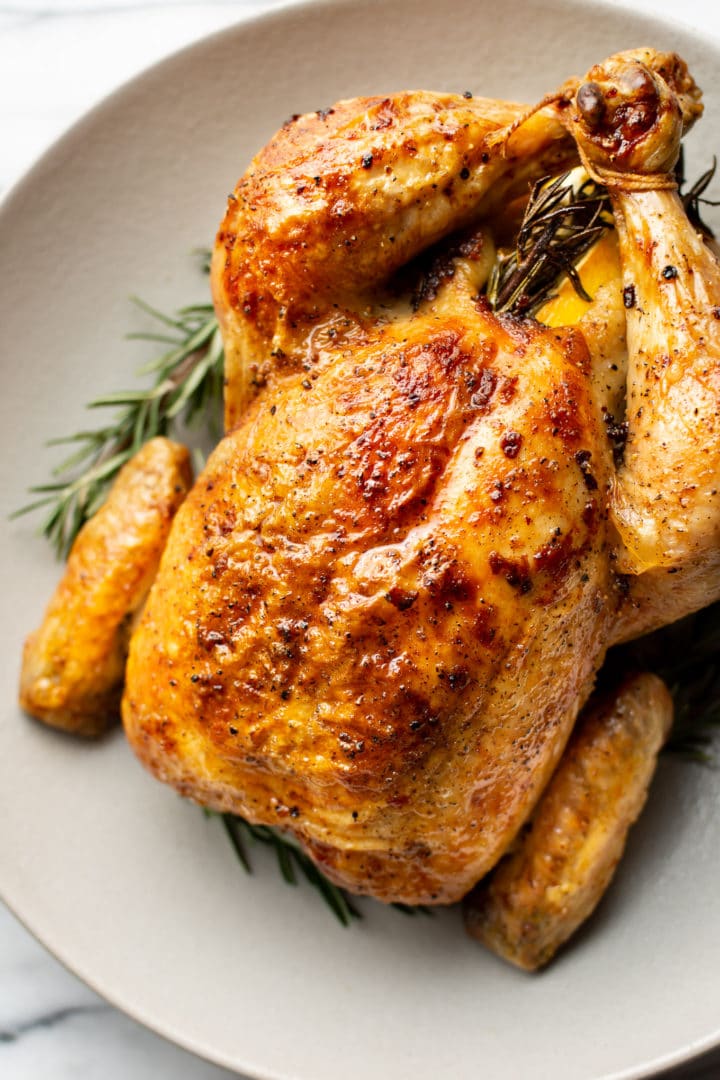
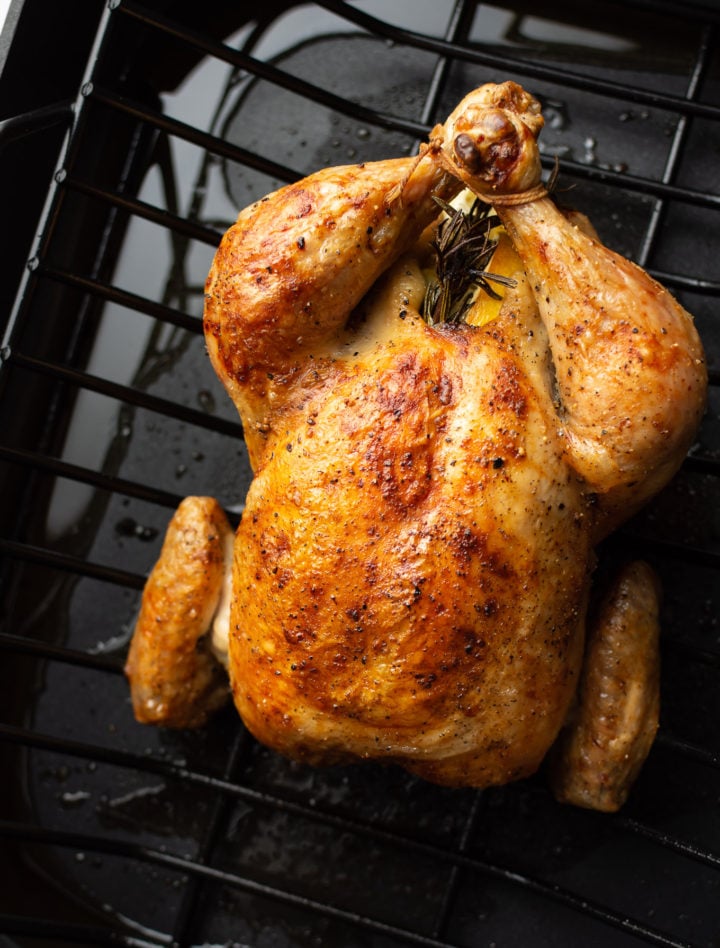
This roast chicken recipe is super simple to prep and results in tender chicken with crispy skin and delicious buttery, lemony juices that have a hint of garlic and rosemary!
Need to feed more people? Try this Easy Roast Turkey instead.
Why you’ll love it
My method for roasting a whole chicken is easy, no fuss, and uses everyday ingredients. It’s SO irresistible that you won’t be able to wait for a special occasion to make this, but that’s just fine since prep time is only 10 minutes, and smaller chickens will be ready in about an hour!
The idea of making a whole roasted chicken can be intimidating if you’ve never done it before or it didn’t turn out so well in the past, but this is a classic that you will be happy to have in your cooking repertoire. If you follow my tips below, you too can serve the best roast chicken.
Everything you’ll need to make it
- Whole chicken – for this recipe you can choose one anywhere from 3 and a half to 6 pounds
- Salt and pepper – it’s really important to season the chicken well
- Lemon – fresh lemon brings a vibrant brightness to the recipe
- Garlic – we’re using plenty to infuse savory garlicky goodness
- Rosemary – there’s no better herb than fresh rosemary to pair with poultry. Use a herb keeper for the rest of the rosemary to keep it fresh.
- Butter – to make it crispy and buttery
Pro tip
- I don’t recommend rinsing the chicken prior to getting started. This doesn’t actually kill bacteria (cooking does!) but it’ll spread it all over your kitchen.
How long to roast a whole chicken at 425F
- For a 3.5 to 4 pound chicken, it’ll take between 55-65 minutes. If your bird is 5-6 pounds, it can take an hour and a half. I don’t recommend roasting anything larger than 5-6 pounds at 425F since it’s best to roast larger birds at a lower temperature.
How to tell when a whole chicken is done
- You’ve probably heard to watch for when “the juices run clear” and to ensure that you don’t see pink when you make a cut between the leg and thigh. These are good visual cues to use, but I don’t like to rely on these methods alone. Sometimes pan juices can be deceptive. By the time you’re confident that your eyes aren’t playing tricks on you, the chicken can already be quite overcooked!
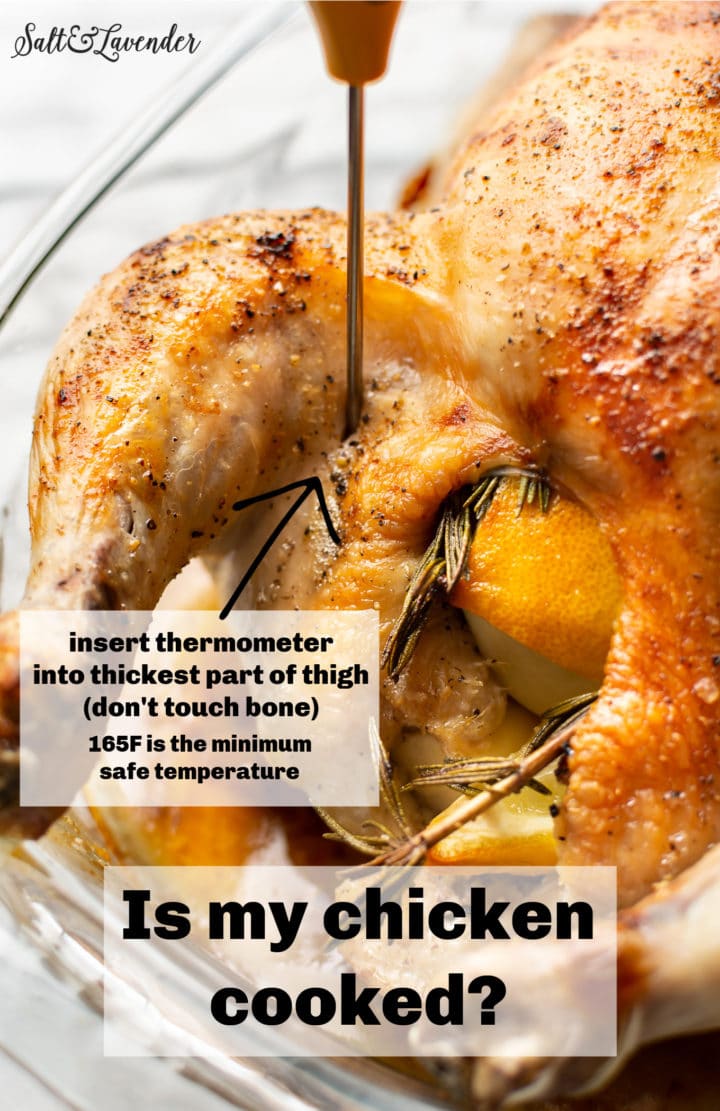
- The only truly reliable method is to use a meat thermometer inserted into the thickest part of the thigh without touching the bone. Instant read thermometers are fuss-free (it takes a few seconds to get a reading) and give you peace of mind. You want it to read a minimum of 165F, but thigh meat is best when it’s cooked to a higher temperature, so I look for it to be in the 170s, and the temperature will continue to rise a bit after you take it out of the oven. For me that’s the sweet spot where the thigh becomes tender before the breast meat gets too overcooked/dry.
- One other thing to look out for: when the chicken is cooked, the legs will move easily when you try to wiggle them.
What pan to use to roast a chicken
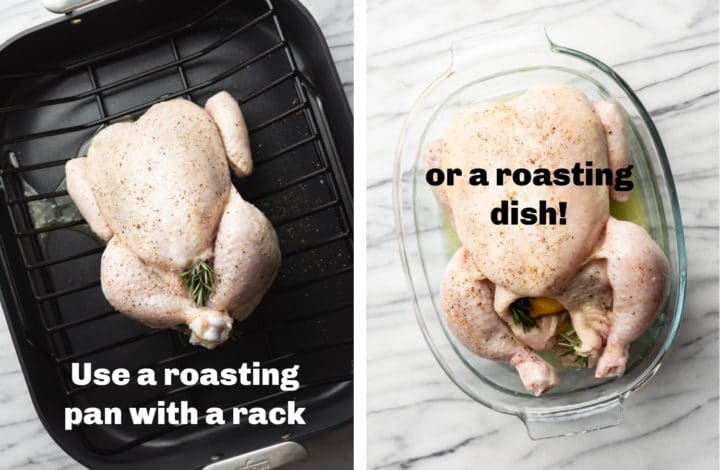
- For the best all-over crispiest skin, use a roasting pan that has a rack so the chicken isn’t sitting in the juices and air circulates better. You can also add potatoes and/or other veggies to the bottom of the pan to make a complete meal.
- I sometimes use a glass roasting dish (Pyrex) to roast chicken if I’m just roasting it by itself. Even an oven-proof cast iron skillet would work, but keep in mind the shallower the dish, the more it can splatter in the oven.
Tips for success
- Be generous with the salt & pepper! Don’t go easy. Use at least a couple teaspoons of sea salt or kosher salt.
- I tuck the wings under the chicken so the tips don’t burn, but it won’t make or break the recipe. Here’s a quick video that shows how to do this and how to truss a chicken, meaning tie it with string. You do not have to get fancy with this; I just tie the legs together.
- The drippings/juices can be served over the chicken and sides like potatoes or veggies. It doesn’t make a lot of sauce, but it is quite rich and flavorful.
Substitutions and variations
- Feel free to change up the herbs! I like to use rosemary, but adding some sprigs of fresh thyme or even oregano (or just buying a fresh poultry herb mix at the grocery store) will work just fine. You don’t need to be precise with measuring.
- I love good old salt & pepper, but if you have a favorite dried herb blend, you can season the chicken with that.
- You can swap the butter for olive oil (it’ll also help the skin brown), but the butter has better flavor in my opinion. I sometimes use a whole stick of butter instead of the half to get even more buttery juices!
What to serve with roast chicken
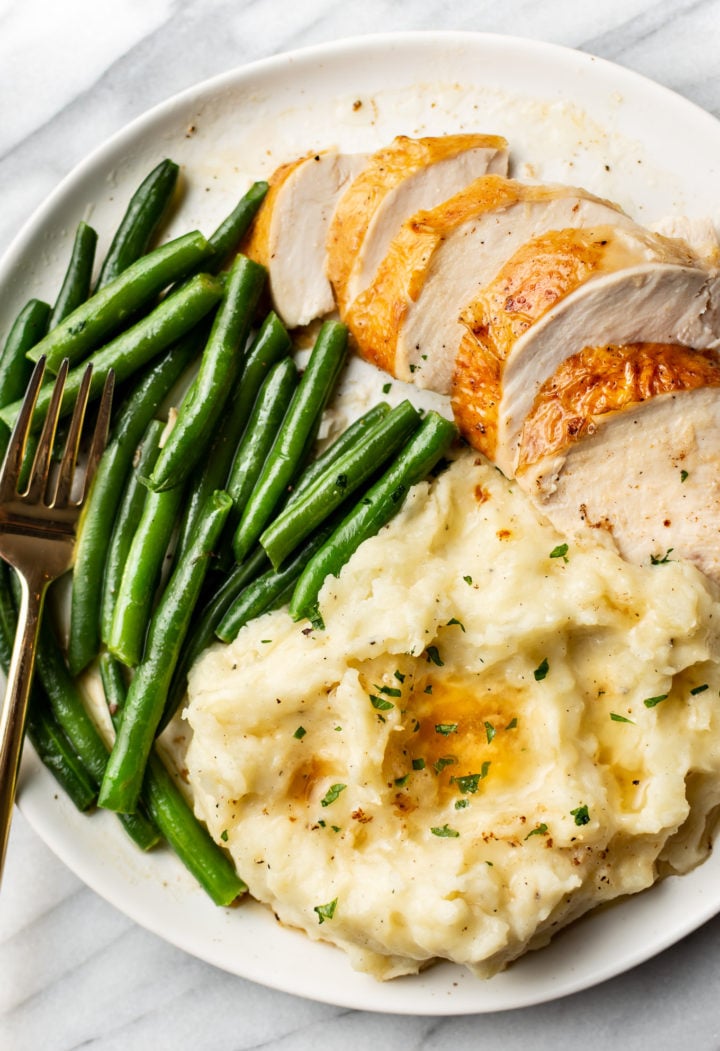
- Any kind of potatoes will pair perfectly, like Mashed Potatoes, a classic Baked Potato, or Roasted Red Potatoes. Rice goes well too, or even pasta for something a little different.
- Any number of vegetable side dishes will work, including my Easy Glazed Carrots or try some Sautéed Spinach with Bacon. Top it all off with some Homemade Gravy too!
Leftovers and storage
- Roast chicken will keep for 3-4 days in the fridge. Use leftover chicken in everything from Chicken Salad to my Lemon Chicken Orzo!
- Or freeze leftovers for up to three months in an airtight container.
More oven chicken recipes to try
I hope you will enjoy this oven roasted chicken recipe! Did you make it? Can’t find the answer to your question in the blog post? Talk to me in the comments below! As always, tag me #saltandlavender on Instagram so I can see your creations.
Easy Roast Chicken
Ingredients
- 1 whole chicken (3.5-6 pounds)
- Salt & pepper to taste
- 1 lemon cut into quarters
- 6 cloves garlic peeled
- 4 sprigs fresh rosemary
- 1/4 cup butter (1/2 stick) melted
Instructions
- Preheat oven to 425F and move the rack to the middle position. If possible, take the chicken out of the fridge 30 minutes prior to starting the recipe. Melt the butter in the microwave or a small saucepan.
- Remove giblets from the cavity (there may not be any but you will know if there are) and pat the chicken dry with paper towel.
- Season the chicken generously with salt & pepper (inside the cavity too). Place the lemon pieces in the cavity, along with the garlic cloves and rosemary (it's ok if some sticks out a bit). Optional: tie the legs together with kitchen twine so it cooks more evenly.
- Add the chicken, breast side up, to a roasting pan or dish (one with a rack will ensure the best all-over crispy skin). Pour the melted butter over the chicken.
- For a 3.5-4 pound chicken, roast for 55-65 minutes. For a 5-6 pound bird, it may take up to an hour an a half. I do not baste the bird or open the oven during this time.
- Test the chicken: When the chicken is cooked, there won't be visible pink when you make a cut between the leg and the thigh, juices will run clear, and the legs will easily move when you try to wiggle them. Only using those cues can be unreliable, however, and can lead to overcooked chicken. For best results, an instant read thermometer inserted into the thickest part of the thigh (without touching the bone) should read a minimum of 165F, but I find the sweet spot for roast chicken is in the 170s (thigh becomes tender once it's past 170F but the breast isn't overcooked). Keep in mind the temperature will continue to rise a bit after you've taken it out of the oven.
- Let the chicken rest for 5-10 minutes to redistribute juices prior to carving. Don't forget to spoon the buttery juices over the chicken and any side dishes.
Notes
- Please take a few moments and read the full blog post (it’s filled with tips, suggestions/substitutions, and FAQs)… especially if you’ve never roasted a chicken before.
- Feel free to change up the herbs!
- If you’re unsure where to insert the meat thermometer, see the photo within the blog post.
Nutrition
Nutrition information is automatically calculated, so should only be used as an approximation.
© Salt & Lavender Inc. Content and photographs are copyrighted. Sharing this blog post is much appreciated, but copying and pasting full recipes without authorization to social media is strictly prohibited.
This recipe was originally published on November 13, 2015, but has since been updated significantly with an improved recipe and new photos and post text.





I made this tonight and it was flawless! Thank you for the great recipe—will definitely be making this again.
You are very welcome, Sarah! 😀 Appreciate your review!
What changes do I make if only using chicken breasts?
Hi! I’m really not sure as it is designed for a whole chicken and chicken breasts will cook a lot faster. I do have tons of tested chicken breast recipes you can browse thru here, though: https://www.saltandlavender.com/category/chicken/
Hello,
Thanks for the great recipe, though I was wondering if the oven temperature of 425 deg F was conventional or fan forced? 😋
Hi Daniel! You’re welcome. Just a regular oven. Not convection. 🙂
Made this for my cousin and his wife, he’s really good in cooking and loves meat. And this turned out sooo juicy we loved it can’t wait to try it again 😋
That’s fantastic!! Thanks so much for your 5-star review, Sarah! 😀
I made this for my family and they have been begging to eat it again! The chicken came out perfectly with such yummy flavour!!!
Wonderful!! 😀 I’m so happy it’s a hit, Sarah! Thanks for taking the time to write me a review.
Hi Natasha!
I‘ve already cooked so many recipes from your blog (I actually only cook those 😬) and my family + myself we love love love them SO much. Sorry that I have not rated before (but I will catch up on it!). We have so many favorites and this one definitely earns a special mentioning. You get a perfect delicious meal (we did this yesterday 25.12!) with such little prep time and with only a few ingredients. We added some potatoes chopped, carrots and beetroots and voila 👌. So amazing!! Thank you!! Happy Holidays
Aww I am so happy to hear that! I appreciate your review. Thank you so much! Happy holidays. 😀
I read this twice and maybe I missed it, but do you just pour all the butter over the chicken prior to cooking it? Thank you!
I re-read this recipe multiple times before hitting “publish” and still missed that. My apologies!! Yes, that’s right. Just updated the recipe.